
Step-by-Step Guide to Creating Your First Crypto Wallet Safely

Updated: May 8
This content includes affiliate links for Ledger products. If you purchase through these links, we earn a commission at no extra cost to you. This is not financial advice. Cryptocurrency assets carry high risks, including the risk of losing your entire investment. Please do your own research and make decisions based on your personal risk tolerance.
If you’re new to crypto, the first big step is setting up a wallet. Think of a crypto wallet like your personal digital safe. It’s where you store your seed phrase, send, and receive your coins. Done right, it gives you full control. Done wrong, you can lose access forever.
That sounds scary, but it doesn’t have to be. The process is actually simple once you understand the basics. This guide walks you through it hand-in-hand, with safety in mind at every step.
Step-by-Step Guide to Creating Your First Crypto Wallet Safely:
Step 1, Understand What a Crypto Wallet Really Is
A crypto wallet does not “store” coins the way a bank stores money. Your coins live on the blockchain. The wallet stores your private keys, which are secret codes that prove you own those coins.
Two quick ideas to remember:
Public address = like your email address. You can share it.
Private key / seed phrase = like your password. Never share it.
If someone gets your private key, they control your funds. No customer support can reverse it. That’s why safety comes FIRST.
Step 2, Decide Between Hot Wallet and Cold Wallet
Before creating a wallet, choose the type.
Hot Wallets
Apps or browser extensions
Free and quick to set up
Always connected to the internet
Convenient for small amounts
Cold Wallets (Hardware Wallets)
Physical devices, like a USB stick
Not always online
Much stronger security
Best for long term storage and larger amounts
If you’re just experimenting with a few dollars, a hot wallet is fine. But if you plan to hold serious value, a hardware wallet is usually the smarter choice. Many beginners start with a hardware wallet straight away so they don’t have to “upgrade” later.
Step 3, Buy a Wallet From a Trusted Source
If you choose a hardware wallet, always buy directly from the official website or a verified store. Avoid second-hand devices. Even if they look new, they can be tampered with.
This is one place where saving a few dollars is not worth the risk. You are protecting your own money, not buying a phone case.
Popular beginner-friendly hardware wallets are known for simple setup screens, mobile apps, and clear instructions. Look for devices that support many coins and have good reviews from real users, not just sponsored posts.
Step 4, Set Up the Wallet Offline if Possible
When your wallet arrives, resist the urge to rush. Find a quiet place where you won’t be interrupted.
General tips:
Use a private Wi-Fi network, not public café Wi-Fi.
Close other browser tabs.
Avoid screen recording or sharing your screen.
For hardware wallets, you plug the device into your computer or phone and follow the on-screen instructions. The device will guide you step by step. It’s designed for beginners, not engineers.
Step 5, Create and Secure Your Seed Phrase
This is the most important step. Your wallet will show you a seed phrase, usually 12 or 24 random words. These words are your master key. If your device breaks, you can restore everything with this phrase.
Do this carefully:
Write the words on paper, not on your computer.
Double check spelling and order.
Store it somewhere only you can access.
Consider two copies stored in different safe locations.
Do not:
Take screenshots.
Store it in cloud notes.
Email it to yourself.
Share it with anyone, even “support staff”.
Many crypto losses happen because people treat the seed phrase casually. Think of it as the key to a vault, not a password reset link.
Step 6, Set a Strong PIN or Password
Your wallet will ask you to create a PIN or password. This protects the device itself. Even if someone steals the physical wallet, they cannot open it easily.
Choose something unique. Avoid birthdays or simple patterns. A short random number is often stronger than a meaningful number that others can guess.
Step 7, Install the Official Wallet App
Most wallets come with an official desktop or mobile app. This app lets you check balances, send coins, and install different cryptocurrencies.
Always download from the official website or app store page. Fake apps exist, and they look convincing. A quick check of reviews and publisher name can save you a lot of trouble.
Once installed, connect your wallet and let it sync. This step is usually automatic and takes only a few minutes.
Step 8, Send a Small Test Transaction First
Before transferring large amounts, send a small test transaction. Even five or ten dollars is enough.
Why this matters:
You learn how sending works.
You confirm the address is correct.
You build confidence.
Crypto transactions cannot be undone. A test run prevents painful mistakes. Many experienced users still do this every time they move funds to a new address.
Step 9, Learn Basic Hygienic Habits
Once your wallet is ready, safety becomes a routine, not a one-time action.
Simple habits that go a long way:
Always double check wallet addresses.
Ignore random emails asking for your seed phrase.
Bookmark official websites instead of searching each time.
Update firmware or apps when prompted by official sources only.
Never rush when sending funds.
Scams often rely on urgency. If someone says “act now or lose everything”, that’s usually a red flag.
Step 10, Consider Extra Protection Later
You don’t need every advanced feature on day one. But as your portfolio grows, you can explore:
Passphrases for hidden wallets
Metal seed phrase backups
Multi-signature setups
Separate wallets for daily use and long term storage
Start simple. Master the basics first. Security layers can be added gradually.
Choosing a Reliable Hardware Wallet, Why Many Beginners Start With Ledger
When people look for their first hardware wallet, the Ledger range often comes up because it balances usability and security well. Security + Ease = Freedom From Compromise. The devices are designed so first-time users can follow the screen instructions without technical knowledge, yet they still offer strong offline protection.
Here is a quick overview of their popular options.
Ledger Nano S Plus
A budget-friendly entry point. Simple interface, wide coin support, and reliable for long-term holding. Great if you want strong security without paying premium prices.

Ledger Nano X
Adds Bluetooth connectivity, which makes it convenient for mobile users. Good balance between portability and features, especially if you manage crypto from your phone often.
Ledger Stax
A more premium model with a larger curved screen and smoother navigation. It feels closer to using a modern gadget rather than a basic device. Ideal if you prefer visual clarity and comfort.

Ledger Flex
Designed with accessibility and ease of use in mind. Clean interface, practical size, and beginner-friendly workflow.

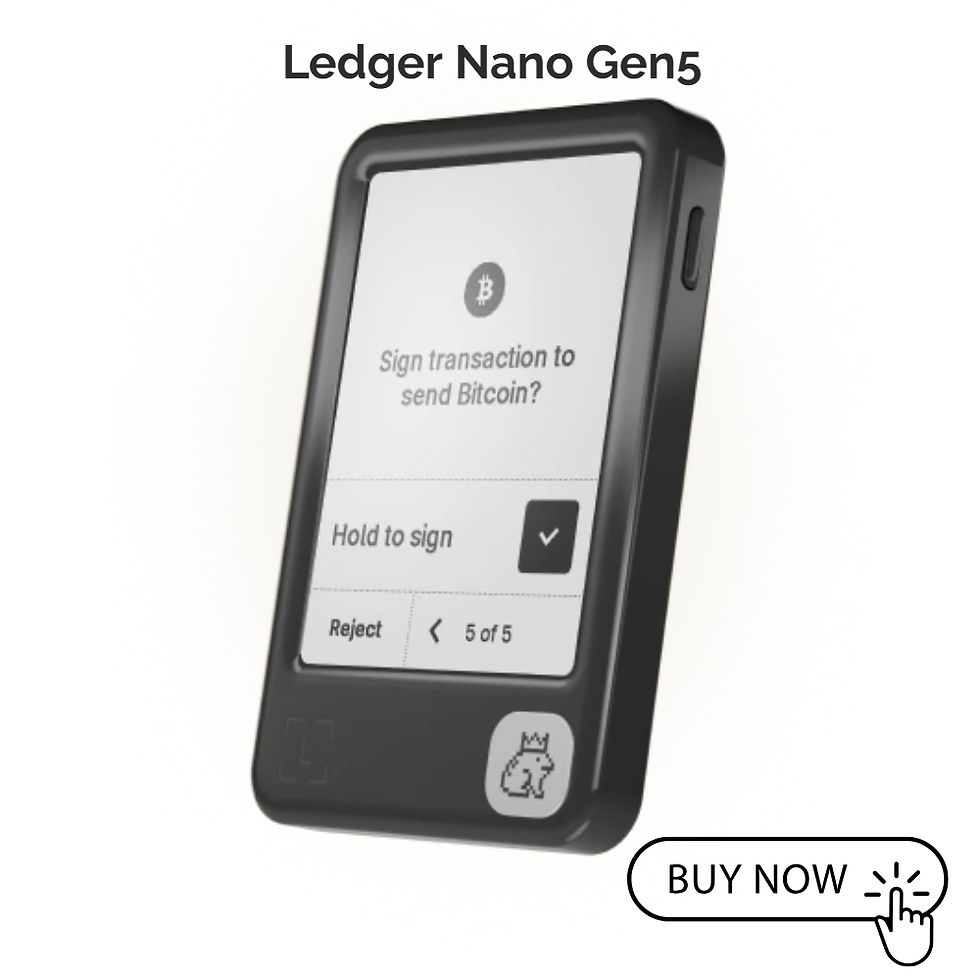
Ledger Nano Gen5
The latest in the Ledger series, with a bigger screen, smoother navigation, and more storage. If you want a modern feel and quick access on the go, this is a standout choice.
There is not that one model is “best” for everyone. The best choice depends on budget, screen preference, and whether you mainly use desktop or mobile. All of them follow the same safety principle, your private keys stay offline.
Now You Are Ready
Step-by-step guide to creating your first crypto wallet safely: A recap. Creating your first crypto wallet is less about technology and more about discipline. Write down your seed phrase carefully. Buy from trusted sources. Take your time with every step. These small actions make a huge difference.
Once your wallet is set up safely, you gain something powerful, true ownership of your digital assets. No bank approvals, no middlemen, just you and your keys.
Start slow, stay cautious, and treat your wallet like the digital safe it is. That mindset alone already puts you ahead of most beginners.


Comments